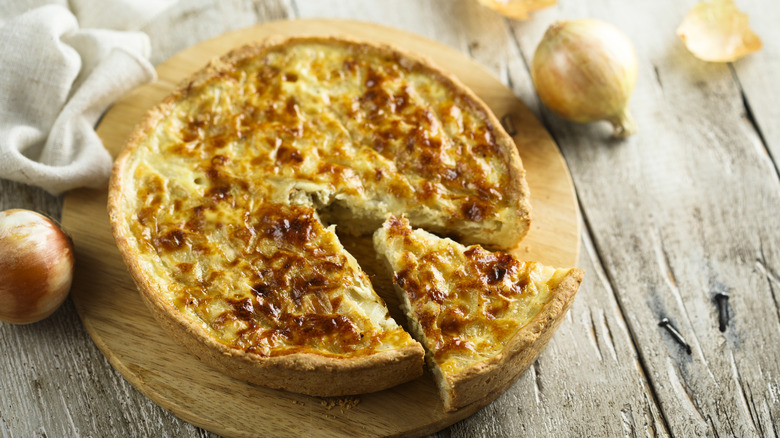
Making the perfect quiche crust is something I’ve come to master over the years, and it has become a recipe I cherish in my kitchen. There’s something so satisfying about a crisp, flaky crust that complements the creamy, savory filling of a quiche. When I first started making quiche, I struggled to get the crust just right—it was either too tough or too soggy. But through trial and error, I learned a few key secrets that make all the difference. Here’s how I make the perfect quiche crust every time.
1. Use Cold Ingredients
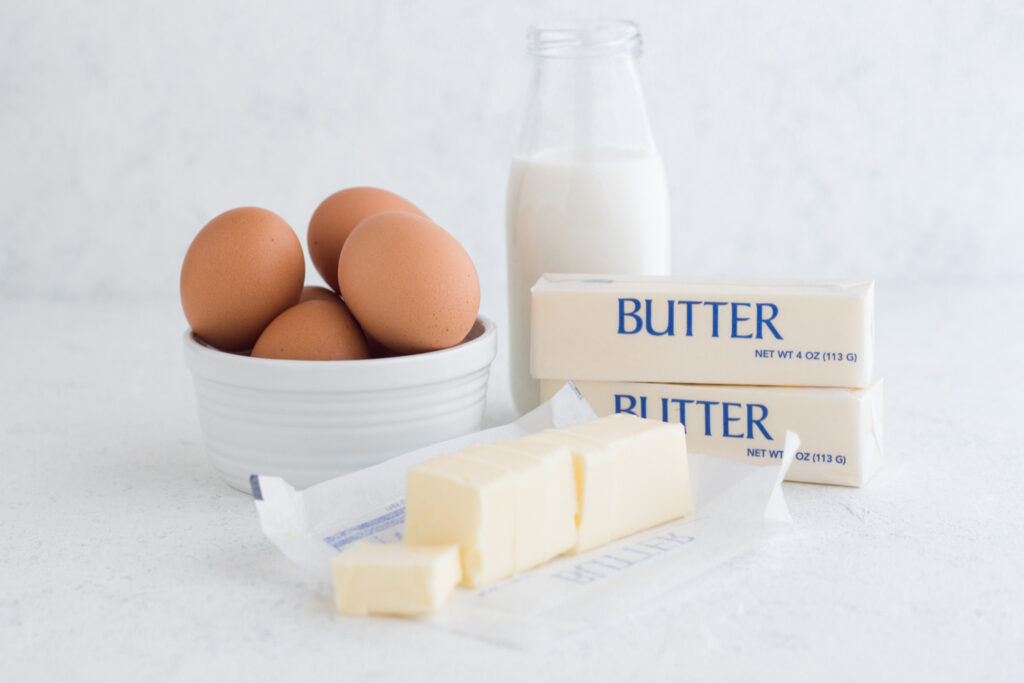
One of the most important tips I learned is to use cold ingredients—this is essential for achieving a flaky texture. I always make sure that my butter and water are chilled before I begin mixing. Cold butter helps create little pockets of fat in the dough, which then puff up during baking, resulting in a light, flaky crust. I even chill my mixing bowl and pastry cutter or forks for extra precaution. This simple step makes a huge difference in the texture of the crust.
2. Don’t Overwork the Dough
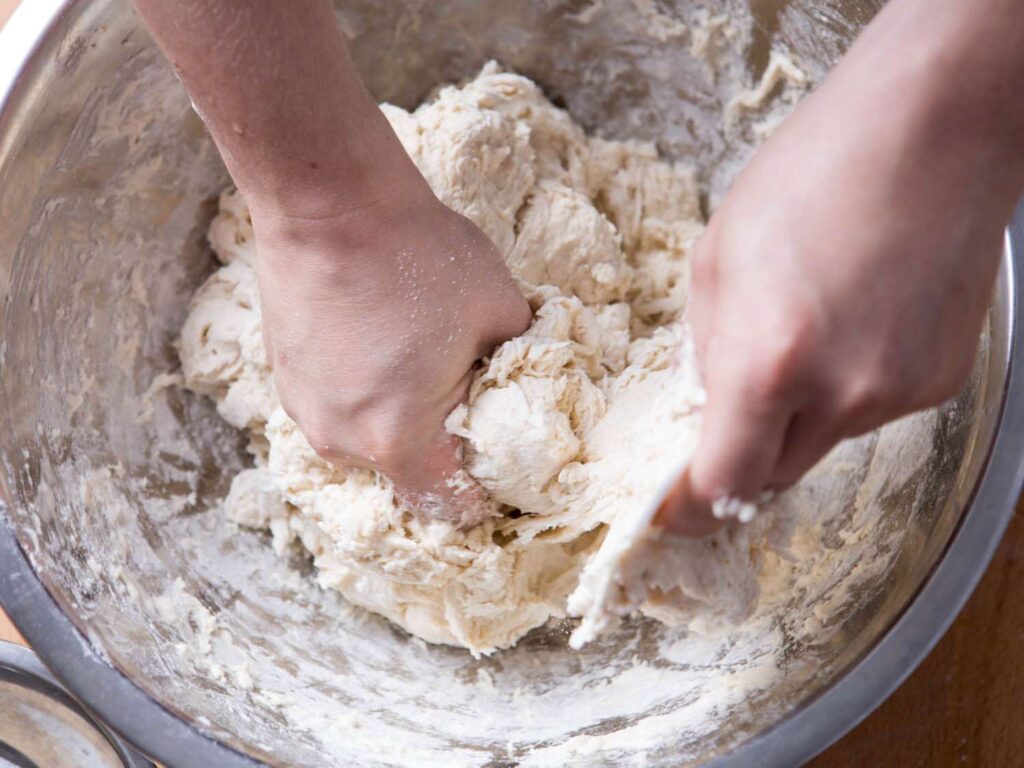
When I first started making quiche, I tended to overwork the dough, thinking that the more I mixed, the better the texture would be. However, overworking dough can lead to a tough crust. Now, I mix the dough until the ingredients are just combined and there are still visible pieces of butter in the mixture. This is key for that flaky, melt-in-your-mouth texture. I’ll quickly form the dough into a disc, wrap it in plastic, and let it chill in the fridge for at least 30 minutes before rolling it out.
3. Blind Bake for a Crisp Crust
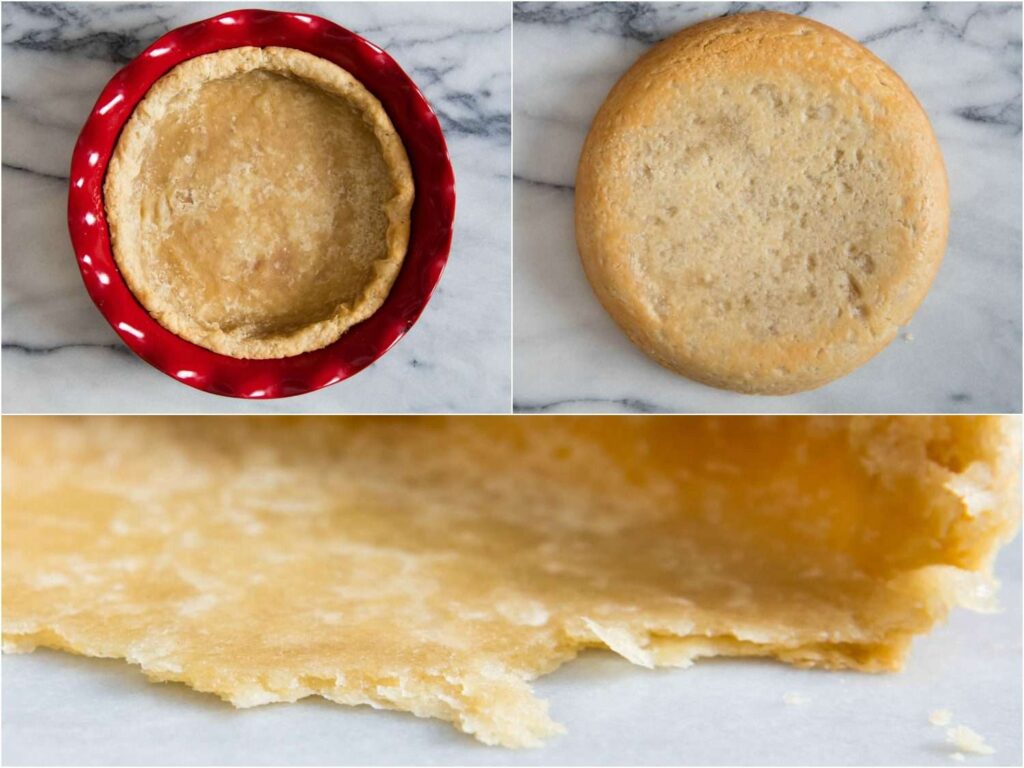
Another mistake I made early on was not blind baking the crust before adding the filling. This step is essential to prevent a soggy crust, especially when the filling is custard-based. To blind bake, I line the crust with parchment paper, fill it with pie weights (or dry beans if I don’t have pie weights), and bake it for about 10-15 minutes. Then, I remove the weights and bake for another 5-10 minutes until the crust is golden and set. This ensures the crust stays crispy even after the quiche filling is added.
4. Use a Mix of Flours
For extra flavor and a more tender texture, I like to use a combination of all-purpose flour and a bit of whole wheat flour in my crust. The whole wheat flour adds a nutty depth to the crust, which pairs beautifully with the richness of the quiche filling. I don’t use too much whole wheat flour, though, as it can make the dough denser. Just a small ratio makes a big difference in the overall flavor.
5. Let the Dough Rest
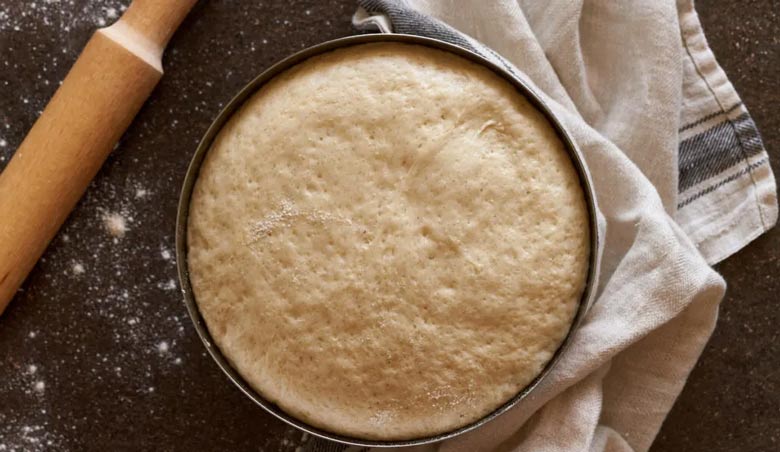
Resting the dough is something I never used to prioritize, but it’s become one of the most important steps in my quiche crust-making process. After I mix the dough, I make sure to let it rest in the fridge for at least 30 minutes. This helps the gluten relax, making the dough easier to roll out and less likely to shrink while baking. I also find that resting the dough allows the flavors to develop, making the crust taste even better.
6. Roll it Out Gently
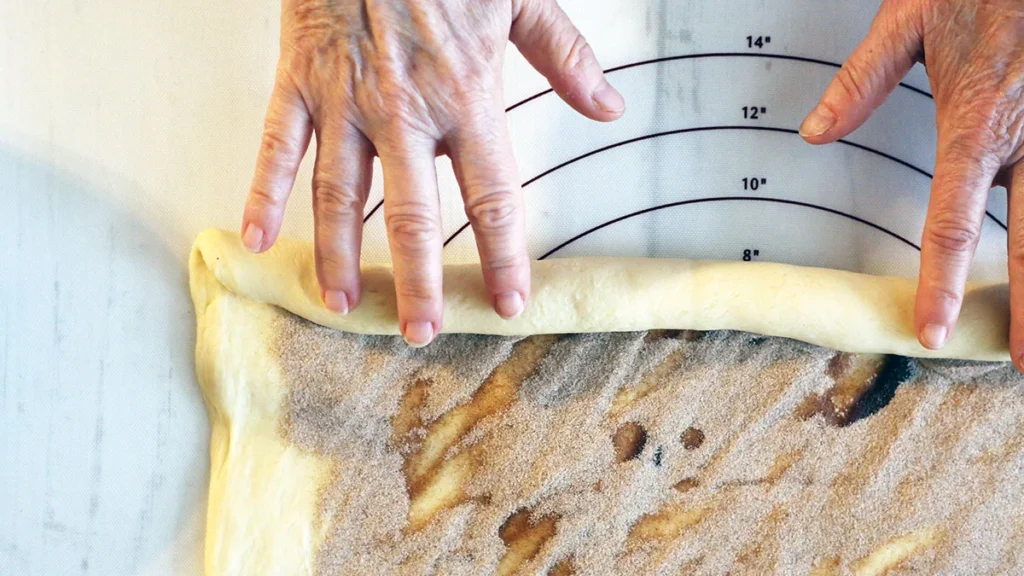
When it’s time to roll out the dough, I take my time. I gently roll it out on a floured surface, turning it regularly to ensure an even thickness. I make sure not to press down too hard on the rolling pin—just light, even pressure does the trick. If the dough starts to stick, I sprinkle a little more flour on the surface, but I always aim to keep it as light and delicate as possible. A well-rolled crust is the key to a beautiful, uniform finish.

